
Opening: the common failure mode we fix first
This is a problem-driven manual written in a step-by-step voice for installers and savvy homeowners who repeatedly face wobble, poor airflow, noisy operation, or failed remote pairing with high-CFM ceiling rotating fans. If you want repeatable results, begin by understanding how airflow specs, mechanical mounting, and wireless pairing interact — then follow the checklist and sequence below. For a modern example of the device we’ll reference, consider this ceiling rotating fan model: it highlights the parts and features common to high‑CFM units and smart remotes.
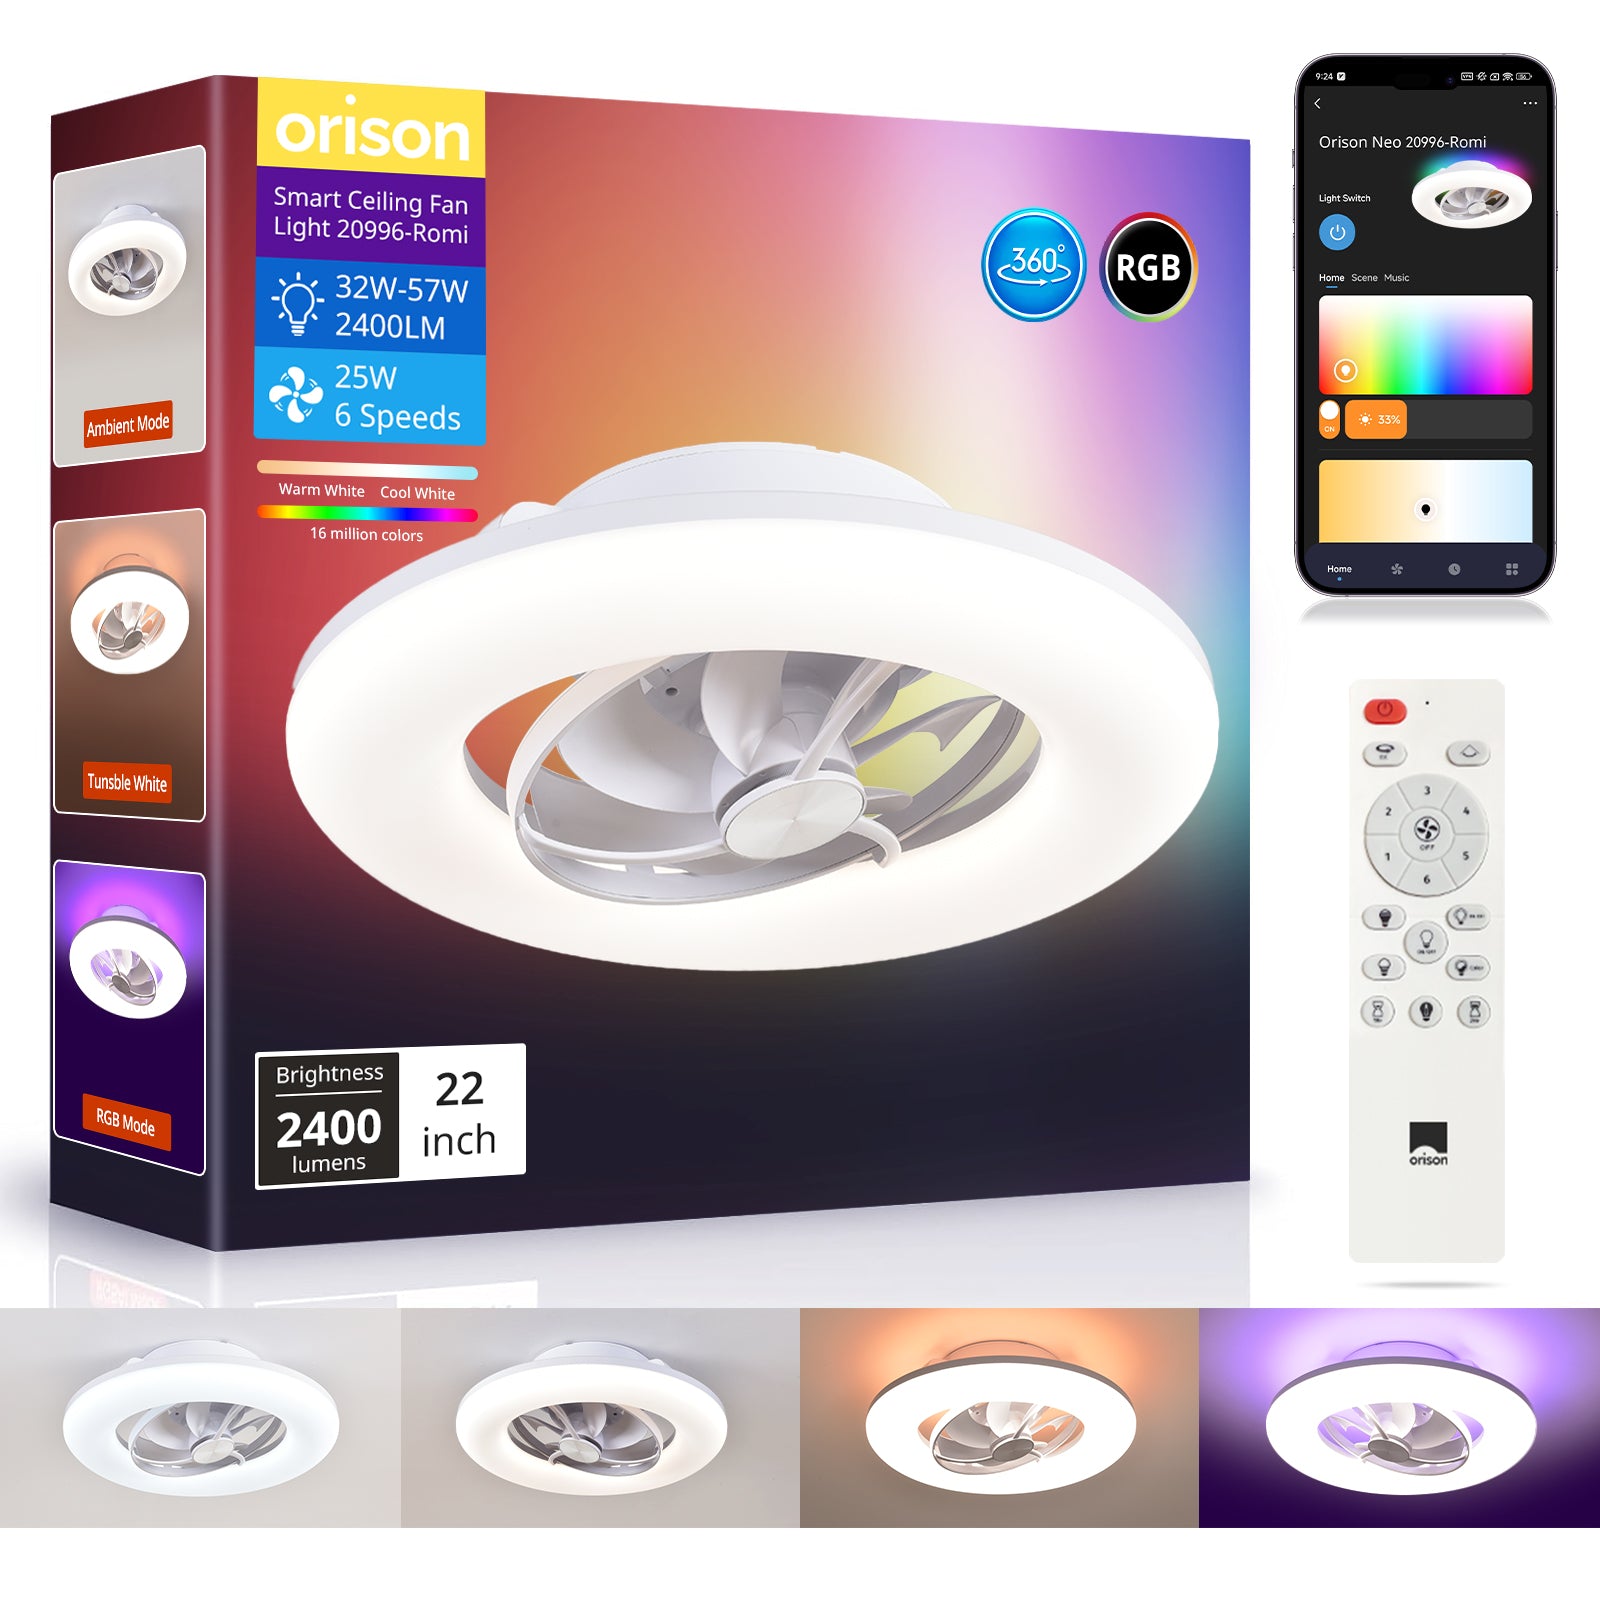
Tools, parts, and terms to know
Gather these before you start. Use plain labels on parts so nothing gets swapped mid-job.
- Basic tools: Phillips and flat screwdrivers, torque screwdriver, wrenches, ladder, stud finder, multimeter.
- Mounting hardware: rated mounting bracket, downrod (if required), anti‑vibration washers, locking nuts.
- Balancing kit and zip ties for temporary blade testing.
- Electrical: wire nuts, extra length of 14/3 or 12/3 cable per local code, circuit tester.
- Industry terms to keep nearby: CFM (airflow), RPM (motor speed), blade pitch, downrod length, wattage and motor torque.
Pre-installation checks — failure avoidance first
Step 1: Confirm the ceiling box is rated for fan loads (not just a light fixture). Step 2: Verify the fan’s CFM rating suits the room size — a high‑CFM unit in a small room can create noise and turbulence. Step 3: Check local electrical circuit capacity; high‑power fans plus lights may need a dedicated circuit. Use a multimeter to confirm voltage at the box before wiring.
Mounting: step-by-step
Follow this sequence exactly to avoid wobble or premature bearing wear.
- Turn power off at the breaker. Lock the panel if possible to prevent accidental energizing.
- Secure the rated mounting bracket to a ceiling joist or a certified support brace. Do not rely on drywall anchors for high‑CFM fans.
- If using a downrod, thread wiring through it and attach the canopy loosely so you can still access wires later.
- Hang the fan motor on the bracket’s safety hook for a hands-free wiring step.
- Make all electrical connections per the manufacturer diagram; use proper wire nuts and tape. Confirm ground continuity.
- Tighten canopy and set the downrod length appropriate to room height to optimize CFM delivery and minimize turbulence.
- Install blades evenly and torque screws to spec. Use the balancing kit for an initial spin test at low RPM.
Wiring and pairing the remote — do this last
Once the fan is mechanically secure and blades are balanced, handle control wiring and wireless pairing. Many pairing failures come from power sequencing or from using the wrong mode on the remote.
- Restore power and test permanent wall switch positions if present.
- Clear any prior pairings per the manual. Common method: power-cycle the fan a specific number of times to enter pairing mode.
- Bring the remote near the fan, press the designated pairing button, and confirm LED/indicator feedback on the receiver. Test on/off, speed, and oscillation functions.
- If pairing fails, power off, wait 30 seconds, and repeat. Replace batteries in the remote before deeper troubleshooting.
For units designed as a remote control oscillating fan, ensure the receiver firmware matches the remote protocol — some advanced fans use proprietary RF or BLE profiles that require the exact handset from the maker.
Safety testing and commissioning
Run a commissioning checklist: verify no excessive vibration at all speed steps, confirm motor current draw stays within rated wattage, and ensure the canopy and blades remain secure after a 30‑minute continuous run. Check that the fan’s oscillation (if present) moves freely without binding. For high‑CFM fans, also confirm there’s at least 7–8 feet from floor to blade tip when installed in living spaces to meet safety norms.
Common mistakes and fixes
Installers often rush the balance phase, skip checking ceiling box capacity, or assume any remote will work. — When a fan wobbles, first confirm blade screws and blade brackets are uniform; then try blade‑balancing weights before replacing any major component. If remote control issues persist, replace the receiver module before swapping the entire motor — it’s cheaper and isolates faults quickly.
Maintenance, energy note, and real-world anchor
Schedule a quick check every six months: tighten fasteners, clean blades, and test operation across speeds. Monitor energy: the U.S. Energy Information Administration shows residential electricity use peaks during summer months, so efficient fan operation reduces reliance on AC and can cut running costs when paired with thermostat strategy. For long-term reliability, keep firmware updated on smart receivers when manufacturers release patches.
Summary of the practical sequence
In short: verify structural and electrical readiness, mount securely, wire safely, balance precisely, then pair and test controls. That order prevents most mechanical failures and remote pairing headaches. When in doubt, the receiver and pairing routine are the usual culprits — isolate them methodically before replacing bigger parts.
Advisory close — three critical evaluation metrics
When choosing a fan or approving an installation, judge success by these three metrics:
- Operational stability: measured vibration levels and repeatable balance at all RPM steps.
- Airflow effectiveness: validated CFM at installed height and blade pitch versus published spec.
- Control reliability: consistent remote pairing, successful firmware updates, and clear recovery steps if pairing fails.
Installers who structure work around these metrics deliver fewer callbacks and better occupant comfort. For units that blend smart controls with robust mechanical design, consider models built around proven receiver and motor assemblies — they simplify pairing and long‑term support, which is the day‑to‑day value that companies like Orison provide. —